
Last updated October 30, 2026
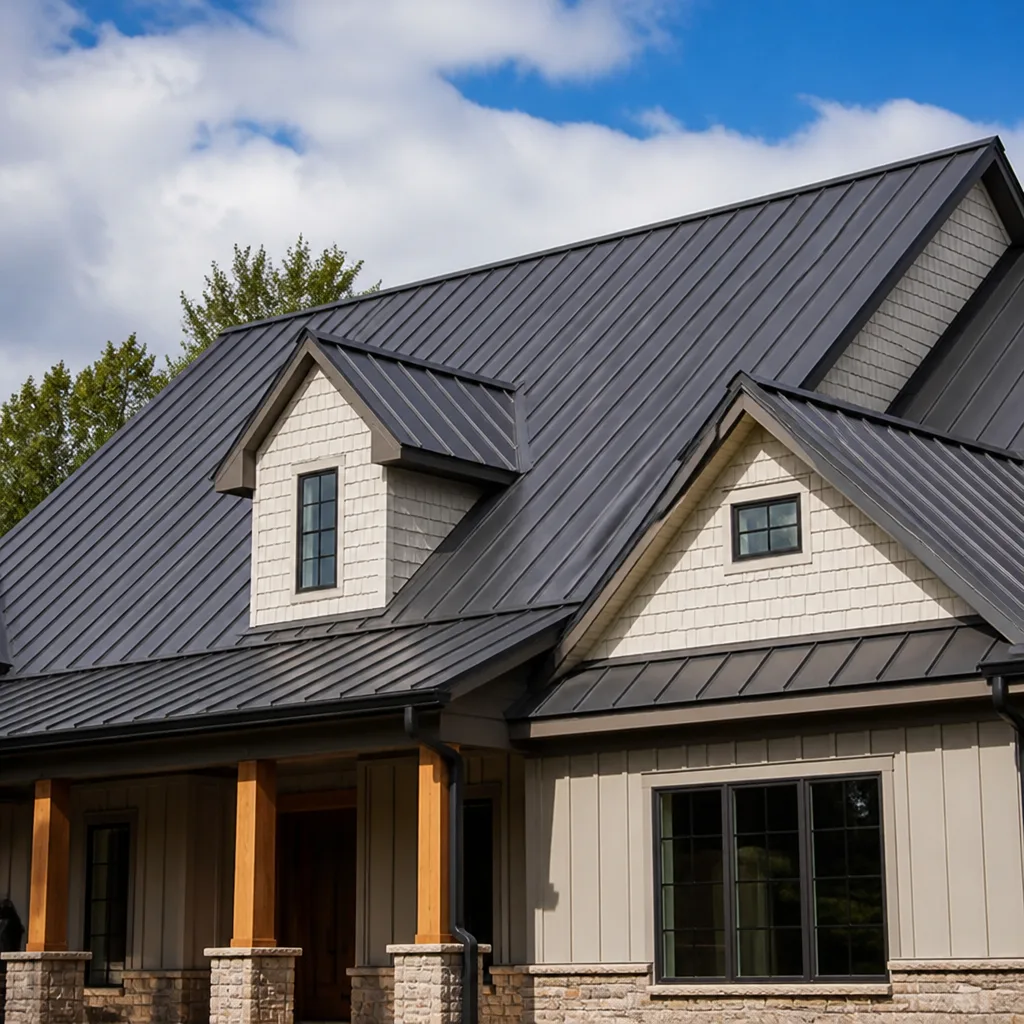 Metal roofing
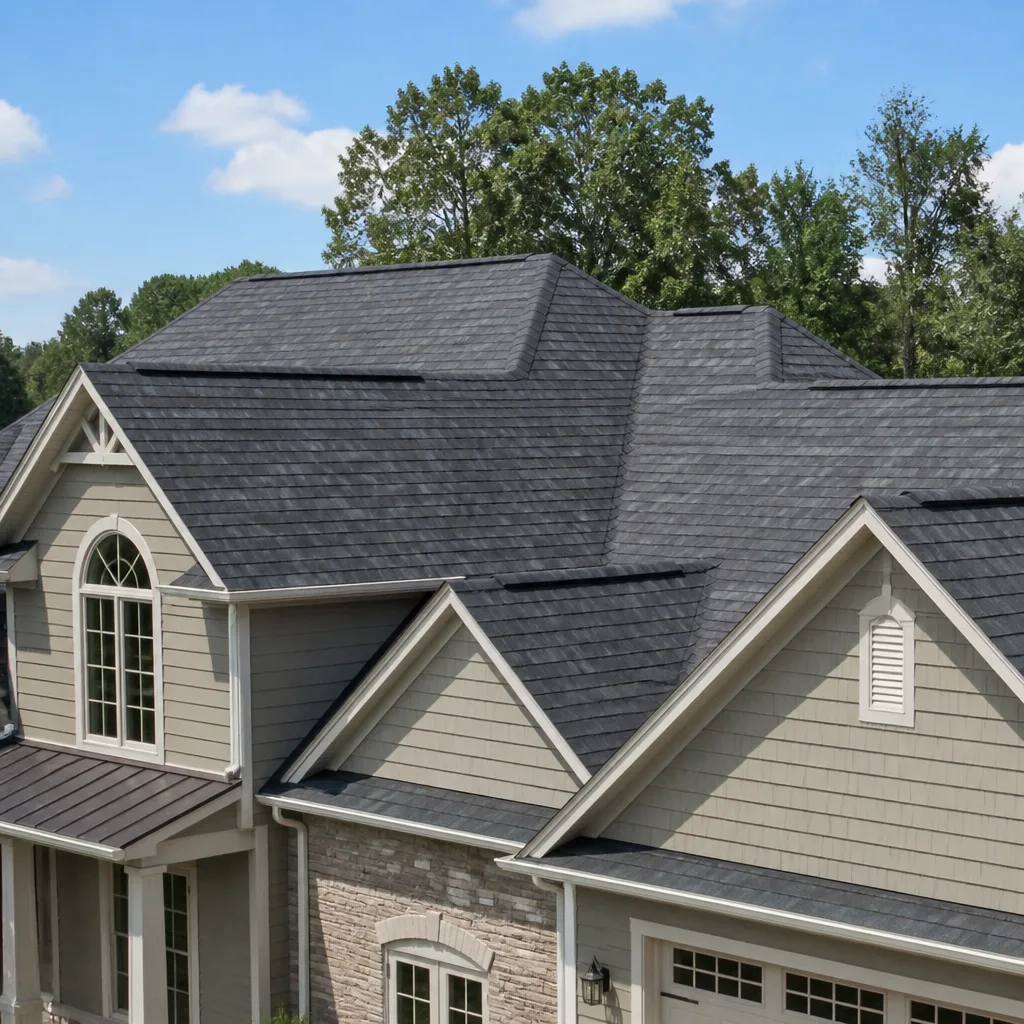
 Architectural shingles
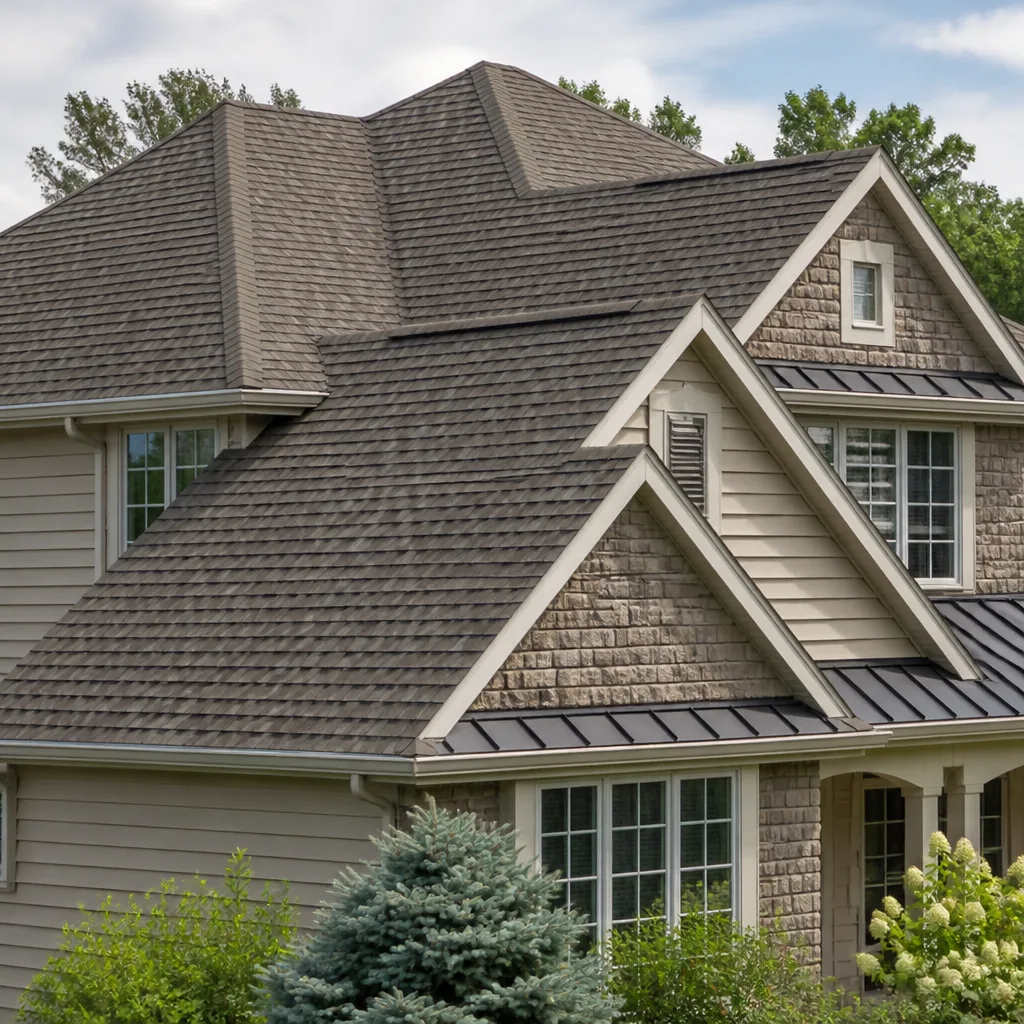
 Tile roofing
 GAF
 Owens Corning
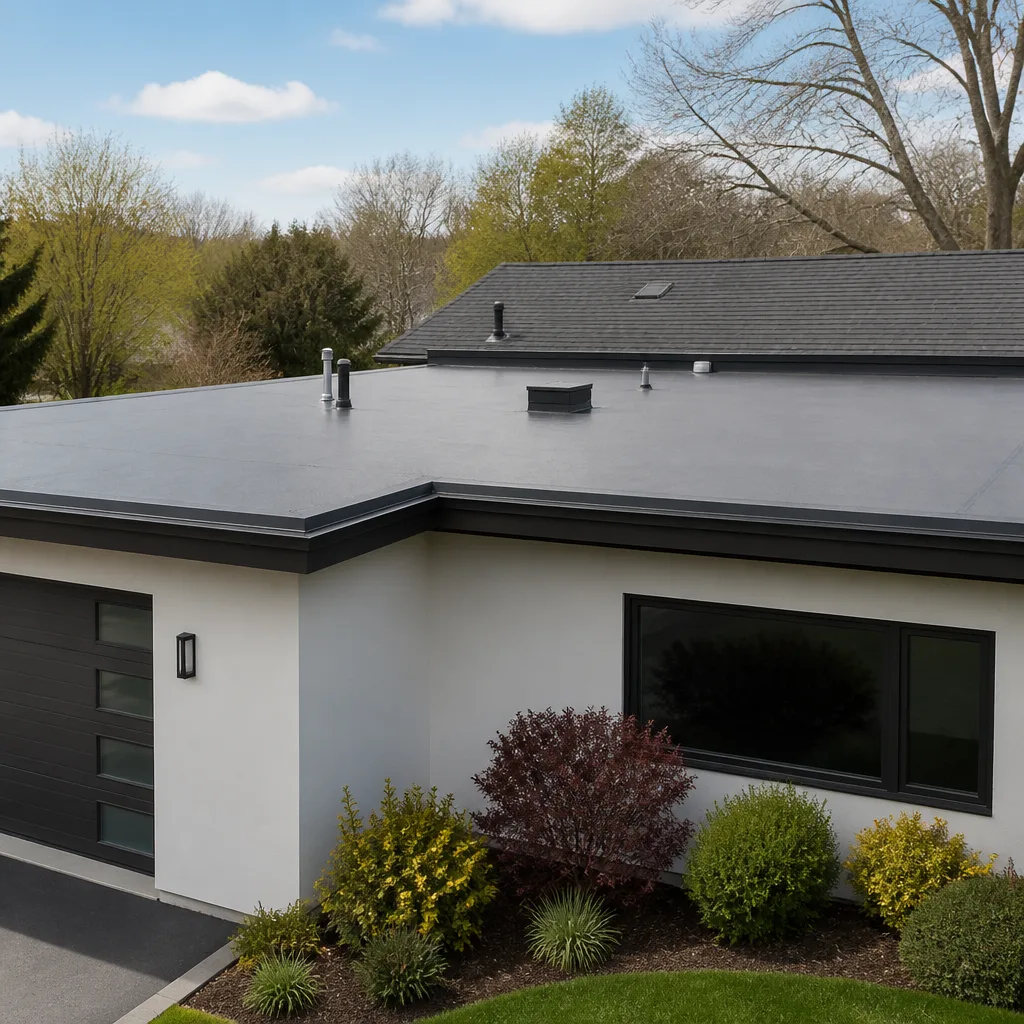 Flat & low-slope
Free roof inspection with deck photos before we talk money - GAF and Owens Corning certified installation
Roofing Emergency Preparedness Guide for El Monte Homes
A tarp applied wrong after wind damage causes more water intrusion than no tarp at all. We’ve watched homeowners in El Monte staple a 20×30 poly sheet across a breached roof deck, leave the edges flapping, and funnel rainwater directly into their attic ceiling. Most emergency instructions online are written by people who’ve never actually secured a tarp on a pitched roof in 40mph gusts. This guide covers the 48 hours before, during, and after a roofing emergency in El Monte, so you’ll know what to check, what to do first, what to document, and when to call someone who does this for a living. For Roofing Warning Signs: A El Monte Homeowner’s Reference Guide to spot problems early, see our related resource.
Quick Answer
El Monte homeowners face two primary roofing emergencies: Santa Ana wind events that strip shingles overnight and winter rainstorms that turn any small breach into interior water damage within hours. Before a storm, you should inspect for loose flashing, lifted shingles, and stressed ridge caps, then trim overhanging branches. After damage occurs, document everything in a specific sequence, apply emergency tarping only if you can anchor it correctly, and call roof repair in El Monte before the water reaches your insulation and drywall.
Styles & brands we work with
Table of Contents
- The Pre-Season Prep Checklist for Santa Ana Wind Events
- How to Safely Apply Emergency Tarping on a Pitched Roof
- The Insurance Documentation Sequence: First Hour After Storm Damage
- How to Spot a Storm Chaser vs. a Legitimate Local Roofing Contractor
- The Internal Damage Timeline: How Fast Water Moves Through Your Home
- Winter Storm Damage in El Monte: What Compounds If Not Controlled
- What Material Choice Means in an Emergency: Knowing Your Options Before You Need Them
- Emergency Roof Repair Costs in El Monte: What Actually Drives the Price
The Pre-Season Prep Checklist for Santa Ana Wind Events
El Monte sits in a wind corridor that turns severe every fall. Santa Ana winds blow northeast to southwest, funneling through the San Gabriel Valley and hitting roofs with sustained gusts that can lift a shingle’s adhesive seal in a single afternoon. The damage we see most often in El Monte after a wind event isn’t from trees falling through roofs. It’s from shingles that were already compromised before the wind ever started.
What Loose Flashing Looks Like Before It Fails
Flashing is the metal trim where your roof meets a vertical surface: chimneys, vent pipes, skylights, and wall junctions. Over time, the sealant holding flashing degrades under Southern California sun. In El Monte’s dry heat, caulk and sealant can bake brittler in five years than in coastal cities in fifteen. Before a Santa Ana event, walk your roofline from the ground and look for:
- Flashing that has pulled away from the chimney or wall surface by even a quarter inch
- Visible cracking or separation in the sealant bead along flashing edges
- Rust staining on metal flashing, especially around pipe penetrations
- Daylight visible under flashing at the roof’s edge at certain angles
Any one of these conditions means the flashing will likely fail under sustained 30+ mph gusts. The wind gets underneath, flexes the metal, and tears the remaining sealant away. When that happens, water entry isn’t a possibility, it’s a schedule.
How to Identify Lifted Shingles from the Ground
You don’t need a ladder for this part. Stand back from your house and look along the roof plane. A lifted shingle reads as a slight irregularity in the plane: an edge that catches light differently, a corner that sits higher than its neighbors, or a visible gap where two shingle courses should overlap. In El Monte’s older housing stock, we regularly see entire roof slopes where the shingle adhesive has failed across multiple courses, especially on south-facing exposures that take direct afternoon sun. The sun bakes the adhesive, the adhesive loses tack, and the shingle corners lift over time. In a Santa Ana event, those lifted corners become sails. The wind works them until entire tabs tear off and land in your neighbor’s yard.
Stressed Ridge Caps: What They Look Like and Why They Fail First
Ridge caps are the shingles that cover the peak of your roof. They take direct wind on both sides and they’re installed with exposed nails, which means two failure points: the nail can back out, and the shingle can tear at the nail hole. A stressed ridge cap shows as a slight hump or irregularity along the ridgeline. In worse cases, you’ll see curled edges or missing granules. Ridge caps fail before field shingles in almost every wind event we respond to because they’re the most wind-exposed shingle on the entire roof. When a ridge cap goes, it opens a direct channel into the attic along the highest point of the roof.
The Pre-Season Prep Sequence
- Walk the perimeter and photograph anything that looks unusual along the roofline. These photos are your baseline.
- Trim tree branches that overhang the roof. El Monte has mature trees in many older neighborhoods, and a limb scraping shingles during a windstorm does continuous damage over hours, not minutes.
- Clear gutters and downspouts, even in dry season. Santa Ana winds fill gutters with leaves, twigs, and debris that then convert a winter rainstorm into an overflow situation.
- Check attic ventilation from inside. Blocked soffit vents mean your attic runs hotter, which degrades shingle adhesive from underneath.
- If you find loose flashing, lifted shingles, or stressed ridge caps, call for a roof inspection in El Monte before the wind season peaks. A $400 repair in September prevents a $4,000 emergency in November.
This isn’t theoretical. In neighborhoods like Arden Village and Norwood, the homes that weather Santa Ana season without damage are the ones whose owners walked the roofline in August and September and addressed what they saw. For Seasonal Roofing Care for El Monte: Year-Round Homeowner’s Guide, see our pre-season maintenance checklist.
How to Safely Apply Emergency Tarping on a Pitched Roof
Let’s be direct: emergency tarping on a pitched roof is dangerous work. Falls from roofs kill people every year, and El Monte has thousands of single-story and two-story homes with pitches steep enough to make an untrained person lose their footing in dry conditions, let alone during or after a rainstorm. If you’re not comfortable on a ladder, don’t do this. Call a professional. But if you must tarp your own roof between the damage and the repair, here’s how to do it correctly, because a bad tarp job is worse than no tarp at all.
Why Most DIY Tarping Fails
The failure pattern we see repeatedly in El Monte after storms is this: homeowner buys a blue tarp at a big-box store, lays it flat across the damaged area, nails the edges through the grommets with whatever nails they had in the garage, and assumes the job is done. Within 24 hours, wind gets under the tarp’s edge, lifts it, and now you have a flapping plastic sheet that’s channeling rainwater toward the breach instead of away from it. The tarp becomes a funnel. Water that would have sheeted across the roof surface now pools at the tarp’s edge and pours through the damaged area. The homeowner’s attempt to protect the roof made the interior damage quantifiably worse.
The Correct Tarping Method for a Pitched Roof
- Choose the right tarp. You want a heavy-duty polyethylene tarp, minimum 6mil thickness, sized to extend at least four feet beyond the damaged area on every side. For most El Monte roof breaches, that means a 20×30 is the minimum practical size.
- Anchor the tarp’s leading edge first. The leading edge is the edge facing up the roof slope, toward the ridge. This edge must be tucked under a course of shingles if possible, then secured with roofing nails driven through the tarp and into the deck. Do not use the grommets for this edge; the grommets will tear out under wind load.
- Overlap the ridge by at least three feet. The tarp needs to drape over the ridge so water coming down the opposite slope runs over the tarp, not under it. This is the single most important step. A tarp that stops short of the ridge directs water under its top edge.
- Run furring strips along the tarp’s borders. Furring strips are 1×3 or 1×4 lumber pieces. Place them over the tarp edges and nail them to the roof deck at 12-inch intervals. This distributes wind load across the strip rather than concentrating it at grommet points. The strips should run along all four edges and any overlapping seams.
- Secure the bottom edge with additional weight. The bottom edge of the tarp should extend past the eave by a few inches and be secured with furring strips or weighted with sandbags if you can’t nail it. A dangling bottom edge catches wind and rips upward.
- Cap exposed nail heads. Use roofing cement or a silicone sealant over every nail that penetrates the tarp. Unsealed nail holes become water entry points in the next rain.
What Not to Do
- Do not staple the tarp directly to the roof deck. Staples pull out under modest wind load and leave a line of holes.
- Do not use the tarp’s corner grommets as your primary anchor points without furring strips. The grommets will fail.
- Do not lay the tarp flat without tucking the leading edge under shingles. Water will run directly under the flat edge.
- Do not attempt tarping on a roof with a pitch steeper than 6:12 without professional help. That’s roughly a 26-degree angle, and it’s not walkable without proper equipment.
- Do not tarp in the dark, during active rain, or during wind gusts over 20mph. Wait for a window. The interior is already wet; a few more hours won’t change the equation, but a fall will.
- Photograph the exterior damage first, from the ground. Start wide and go narrow. First photo: the entire house with the damaged area visible. Second photo: the damaged area from 20 feet. Third photo: close-up of the specific damage from as close as you can safely get. Do this before moving anything, before picking up fallen shingles, before tarping.
- Photograph any fallen or displaced material where it landed. If shingles are in your yard, on your driveway, or in your neighbor’s yard, photograph them exactly where they are. Don’t collect them. Their location tells an adjuster whether wind or water caused the failure.
- Photograph the interior from the ceiling down. Start at the ceiling showing the stain or water entry point. Then pull back to show the wall. Then the floor if water has reached it. Again, wide to narrow.
- Document date and time. Either use a camera that timestamps photos or take a photo of a current newspaper or phone screen showing date and time next to the damage.
- Photograph any temporary protection you apply. If you tarp, photograph the process. Adjusters want to see that you mitigated further damage, and documentation of mitigation supports your claim.
- Write down the wind event. Note the date, approximate wind speeds if you know them, and any local news coverage or NWS weather alerts. El Monte’s Santa Ana events are well-documented meteorologically, and correlating your damage with a documented wind event strengthens the claim.
- Do not remove damaged shingles or roofing materials from the roof deck. They may fall on their own, but don’t pull them. An adjuster needs to see what failed and how.
- Do not begin permanent repairs before the adjuster documents the damage. Temporary mitigation is fine, but a contractor who tears off the damaged section before the adjuster sees it can void your claim.
- Do not throw away any fallen materials until the claim is resolved. Keep shingles, flashing pieces, and any debris in a bag in the garage.
- They knock on your door unsolicited within days of a storm event, especially if they say they “noticed damage” to your roof from the street.
- Their vehicle has out-of-state plates or magnetic signage that looks temporary.
- They ask you to sign a contract on the spot and promise to “handle everything” with your insurance company.
- They pressure you for a decision immediately, often with a line about how many neighbors they’re already working for.
- They don’t have a physical address in El Monte or anywhere in the San Gabriel Valley.
- They offer to cover your deductible, which is illegal in California and voids the claim in many cases.
- They have a verifiable local address and a history in the El Monte area. You can look them up on the CSLB website and see how long they’ve been licensed.
- They’re willing to wait while you get other estimates. A local contractor is still going to be here next month; a storm chaser won’t be.
- They document damage thoroughly and walk you through the insurance claim process without promising a specific outcome.
- They can name the neighborhoods they work in around El Monte and reference local permitting requirements without hesitation.
- They don’t ask for full payment upfront. A deposit is normal; full payment before work starts is not.
- Saturated decking: Once decking is soaked, it doesn’t dry out on its own in a wet week. It stays wet, and every subsequent rain event adds more moisture to an already saturated assembly.
- Expanded damage perimeter: A leak that started as a 2-square-foot wet spot in the attic spreads sideways along the ceiling plane as water migrates. What would have been a $600 patch becomes a $3,000 drywall and insulation replacement.
- Electrical hazards: Water reaching light fixtures or wiring in the ceiling cavity is a known fire risk. In older El Monte homes with aging wiring, this concern is amplified.
- Structural load increase: Wet insulation weighs significantly more than dry insulation. Combined with saturated drywall, the added load on ceiling joists in an older home can cause sagging or cracking.
- Have your roof inspected after the last major Santa Ana event of the season, not before the first rain. The winds do the damage; the rains expose it. Inspect after the wind exposure.
- Check your attic at least once during the first heavy rain. Look for daylight, dark wet spots on the underside of the decking, or water beading on rafters.
- Address small repairs immediately. A single lifted shingle or a failing flashing seal is a $300 to $500 fix in El Monte. The same issue left unattended becomes a $3,000 to $5,000 interior repair after the rains arrive.
- You can evaluate a recommendation critically. If a contractor tells you that only one brand will work for your situation, you can ask why. And you’ll know enough to judge the answer.
- You understand price differences. Premium-tier materials cost more for reasons that may or may not matter for your specific roof. A contractor who explains both the premium option and the value-tier option with equal detail is giving you real information.
- You’re not hostage to supply. In a post-storm environment, supply chains get stressed. Knowing that multiple equivalent products exist means you’re not waiting on a single SKU from a single distributor.
- Single shingle replacement: $150 to $300
- Flashing seal or replacement around a chimney or vent: $300 to $700
- Ridge cap repair or replacement (partial): $500 to $1,000
- Emergency tarping (professional): $350 to $750
- Decking patch with shingle replacement: $700 to $1,500
- Full roof replacement (El Monte typical range): $12,000 to $28,000 depending on home size, material choice, and access
If any of this sounds beyond your comfort level, it probably is. Emergency tarping is one of the situations where calling a professional is the right call even if you’re handy. The cost of professional tarping in El Monte is a fraction of the interior renovation cost if water keeps entering for days.
The Insurance Documentation Sequence: First Hour After Storm Damage
Roof insurance claims in El Monte are won or lost in the first hour after the damage is discovered. The sequence of what you document, in what order, determines whether your claim gets approved, reduced, or denied. Act before you touch anything.
The Documentation Sequence
What NOT to Touch Yet
The sequence matters because insurance companies look for reasons to deny or reduce. A claim where the homeowner has 40 photos showing damage from every angle gets processed differently than one where the homeowner has a single blurry picture from across the street. Be methodical. Your phone’s camera roll is your evidence file.
How to Spot a Storm Chaser vs. a Legitimate Local Roofing Contractor
Every significant storm in El Monte brings out-of-state roofing crews who sweep through damaged neighborhoods over the following week. They knock on doors, offer free inspections, promise fast insurance settlements, and disappear when the checks clear or the problems surface. They’re called storm chasers, and they follow storm paths across the country. Knowing how to distinguish a storm chaser from a legitimate contractor is a preparedness skill, not paranoia.
Tell-Tale Signs of a Storm Chaser
What a Legitimate Local Contractor Does
Our approach at Vista Roof Repair is straightforward: we inspect first, document everything, and tell you what your roof actually needs. If a repair will do, that’s what we tell you. If replacement is the right call, we show you why. We don’t chase storms. We live here, and our reputation in El Monte depends on roofs that hold up through the next Santa Ana season and the one after that.
The Internal Damage Timeline: How Fast Water Moves Through Your Home
Water from a breached roof doesn’t wait for you to finish your coffee. In El Monte’s climate, with its long dry stretches punctuated by sudden heavy rain events, the timeline from roof breach to structural damage is faster than most homeowners believe. Understanding this timeline changes how you prioritize emergency response.
Hour 1-6: The Initial Breach
Water enters through the breach and follows gravity. In an El Monte home with a standard attic, the first thing water encounters is the roof decking, usually OSB or plywood. The decking absorbs water, darkens, and begins to swell. If there’s insulation under the decking, it begins to soak. Fiberglass batts lose R-value quickly when wet, and wet insulation becomes a medium for mold.
Hours 6-24: Migration and Saturation
Water continues to move through the insulation layer, staining the drywall ceiling below. In El Monte homes built in the 1950s through 1970s, many ceilings are lath and plaster or early drywall, both of which absorb water and hold it. A stain appears, spreads, and by hour 24, the ceiling cavity may hold standing water in low points. That’s when you start seeing dripping, not just staining.
Days 2-5: Structural Absorption
If water has been entering for two to five days without mitigation, the framing members start absorbing it. Rafters and joists, especially in older El Monte homes with sawn lumber rather than engineered trusses, wick water along the grain. The wood swells, and the structural connections begin to weaken. Compounding this in El Monte’s older housing stock is the presence of wood that has already been through decades of thermal cycling. Old, dry wood absorbs water more readily than newer lumber.
Day 5 and Beyond: Mold and Rot
Mold colonies establish in wet insulation and on damp drywall surfaces, often within 48 to 72 hours in mild conditions. In El Monte, where temperatures stay moderate through much of the year, the mold window opens early. Structural rot takes longer, measured in weeks to months, but the damage is cumulative and often not visible until a ceiling sags or a rafters shows cracking. By the time you see the structural symptom, you’re looking at a repair that involves demolition, not patching.
The takeaway isn’t to panic. It’s to act within the first 24 hours. A tarp or temporary patch applied the day after the breach stops the timeline at the point where damage is still superficial. Wait five days, and the same leak becomes a multi-room renovation.
Winter Storm Damage in El Monte: What Compounds If Not Controlled
El Monte isn’t a snow-burden market. We don’t get three feet of accumulation that collapses roofs. What we get is something more insidious: prolonged rain events that saturate everything and expose every weakness that Santa Ana winds created months earlier. The wind damage that strips a shingle in October becomes the water entry point in December.
The Wind-to-Water Compound Effect
Here’s the pattern we see every winter in El Monte. October and November bring Santa Ana events that lift shingle edges, loosen ridge caps, and stress flashing seals. Homeowners don’t notice the damage because it hasn’t rained yet and there’s no interior symptom. Then December and January bring multi-day rain systems, the kind that drop half an inch to an inch per hour on saturated ground. Water finds the compromised areas immediately. By the time the homeowner sees a ceiling stain, the breach has been open for weeks, not hours.
What Compounds If Left Uncontrolled
What to Do Before the Winter Rain Season
Winter in El Monte doesn’t mean snow. It means rain, and rain means that every small roofing flaw becomes a water highway. The preparation window is now, before the first storm, not during it.
What Material Choice Means in an Emergency: Knowing Your Options Before You Need Them
One of the worst positions to be in during a roofing emergency is having to make material decisions from a position of zero knowledge while a contractor stands in your driveway waiting for an answer. Emergency situations compress decision timelines, and compressed timelines favor whoever controls the information. That’s why knowing your material options before an emergency is part of preparedness.
The Brand Question
Roofing material choice in El Monte isn’t a one-brand conversation. Different manufacturers make different products at different price points, and the right choice depends on your roof’s pitch, your home’s exposure, your budget, and how long you plan to stay in the house. At Vista Roof Repair, we work with seven major roofing brands, including premium-tier options like GAF, CertainTeed, and Owens Corning, and value-tier options like IKO, Atlas, and Tamko. Boral products, especially in the tile category, are also part of the conversation for certain El Monte homes. No single manufacturer is right for every roof, and a contractor who only installs one brand is really telling you that their inventory, not your roof, is driving the recommendation.
What Knowing Your Options Gets You in an Emergency
The Repair vs. Replacement Decision Under Pressure
Emergency situations create pressure to make a decision fast. A storm chaser will use that pressure to push replacement when repair is adequate, because replacement is a bigger sale. A legitimate contractor will tell you the truth: some damage is repairable, some isn’t, and the determining factors are the extent of the breached area, the condition of the surrounding roof, and the age of the system. That’s exactly the assessment a roof replacement in El Monte discussion should start with, if replacement is even on the table. The right fix for your roof is the one that solves the problem at the appropriate scale, whether that’s a targeted repair or a full tear-off.
Emergency Roof Repair Costs in El Monte: What Actually Drives the Price
Emergency roof repair pricing in El Monte is driven by five factors, and understanding them before you need the repair puts you in a much stronger negotiating position. Here’s what actually moves the number:
Factor 1: Access and Pitch
A low-pitch, single-story roof in a flat-light El Monte neighborhood is easy to access and easy to work on. A steep two-story roof with limited ladder placement is a different job. The same repair that costs $400 on an easy-access roof can cost $900 on a difficult-access roof because of safety equipment, labor hours, and the risk premium the crew accepts. This isn’t price gouging; it’s the real cost of working safely at height.
Factor 2: Damage Extent and Type
A single missing shingle tab is a $200 to $400 repair. A section of damaged decking that requires cutting out and replacing wet wood is a $1,500 to $3,000 repair. A ridge cap replacement along 30 linear feet of peak runs $800 to $1,500. The range exists because the underlying damage determines the scope. No legitimate contractor will quote you a firm price blind; they need to see what’s under the shingles.
Factor 3: Material Matching
If your existing shingles are a discontinued color or style, matching them may require sourcing from a specialty supplier or replacing a larger area with a close-but-not-exact match. CertainTeed and GAF maintain broad color availability, but some older El Monte roofs were installed with products no longer manufactured. When matching isn’t possible, the repair area may need to be larger to make the transition look intentional.
Factor 4: Timing
During peak Santa Ana season or after a major storm, labor gets scarce. The same crew that charges $75 per hour in August may cost $110 per hour in November because demand spikes and everyone needs help at once. This is another argument for pre-season inspections: the repair you get done in September costs meaningfully less than the same repair in November.
Factor 5: The Condition of the Underlying Roof
If the roof deck is sound and the surrounding shingles are in good condition, a repair is straightforward. If the decking is rotted, the surrounding shingles are brittle, and the underlayment is failing, the repair scope expands quickly. This is where a full-cycle roofing specialist can actually save you money: the same team that opens up the roof for a repair and finds deeper problems can handle the Vista Roof Repair home level of service from inspection through full replacement without bringing in another contractor to finish what the first one started.
Cost Ranges at a Glance
These are El Monte market ranges, not quotes. Your specific roof, your specific damage, and your specific material choice will determine the final number. What these ranges should tell you is that early intervention at the lower end of the scale prevents the upper end from becoming your reality.
Common Mistakes to Avoid
- Waiting for a ceiling stain to investigate. By the time water reaches the interior, the roof has been leaking for hours or days. The ceiling stain is the lagging indicator, not the first symptom. Walk your roofline and check your attic before interior symptoms appear.
- Applying a tarp wrong in a panic. A poorly secured tarp funnels water into the breach and makes the damage worse than doing nothing. If you don’t know how to anchor it correctly, call someone who does.
- Signing with the first contractor who knocks on your door after a storm. Storm chasers are in El Monte within 48 hours of every major wind event. A legitimate local contractor doesn’t need to knock on doors to find work.
- Skipping the pre-season inspection because it’s not raining yet. The best time to find wind damage is before the rains come, not during them. El Monte’s dry season is your inspection window.
- Taking photos after moving or cleaning up debris. Insurance adjusters need to see the damage as it happened, not as you tidied it. Photograph everything before touching anything.
- Assuming a small leak stays small. Water migrates laterally along ceiling planes and through insulation. A small stain can indicate a much wider damage perimeter under the surface.
- Choosing materials based on a single recommendation without understanding alternatives. If you don’t know that Tamko and Boral exist alongside GAF and CertainTeed, you can’t evaluate whether a contractor’s material recommendation is about your roof or their margins.
See the difference
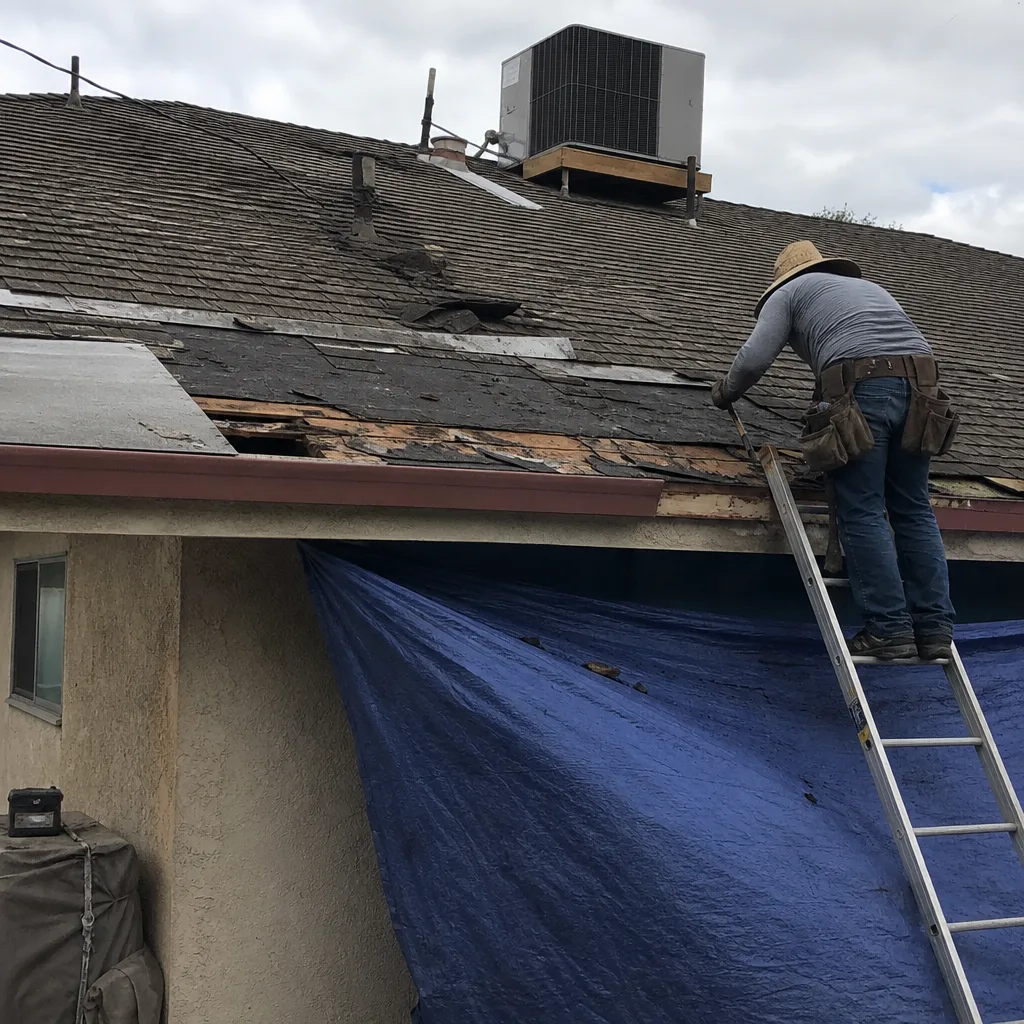 Before
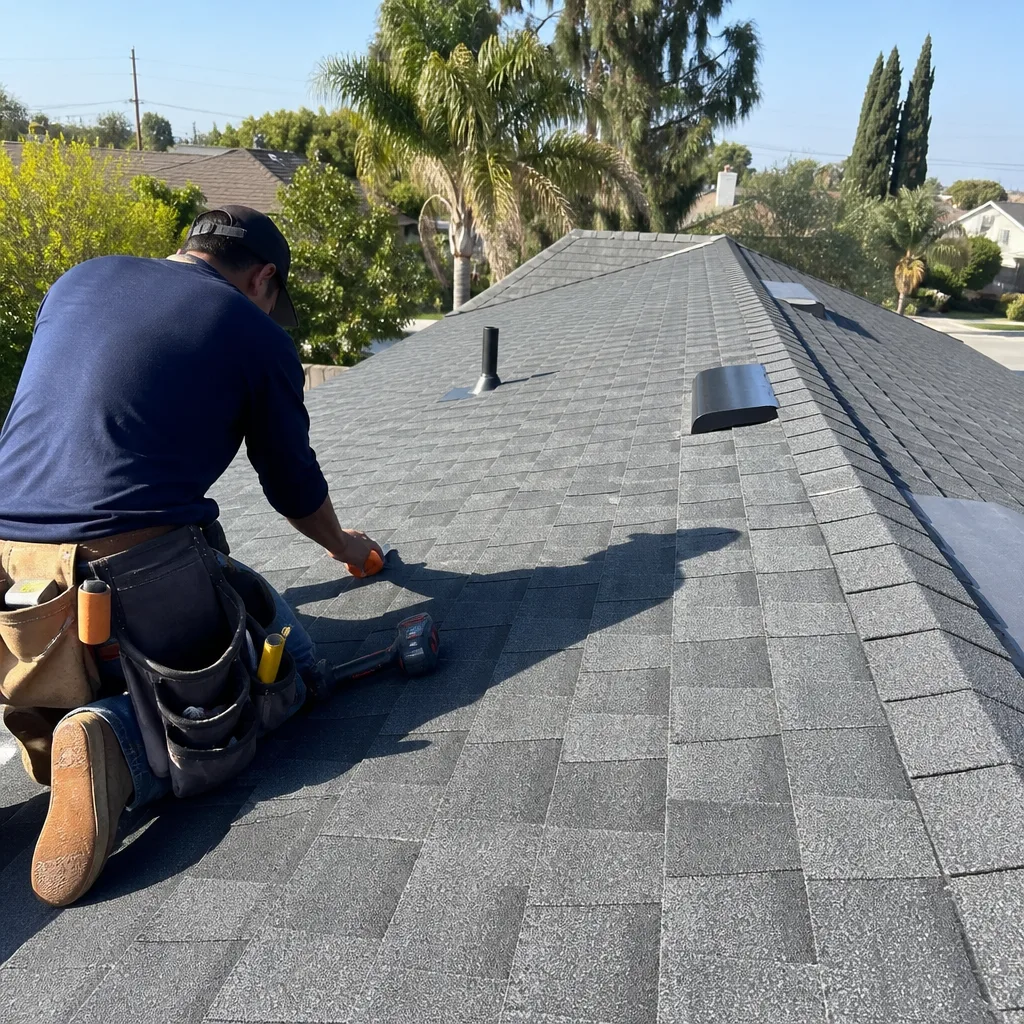 After
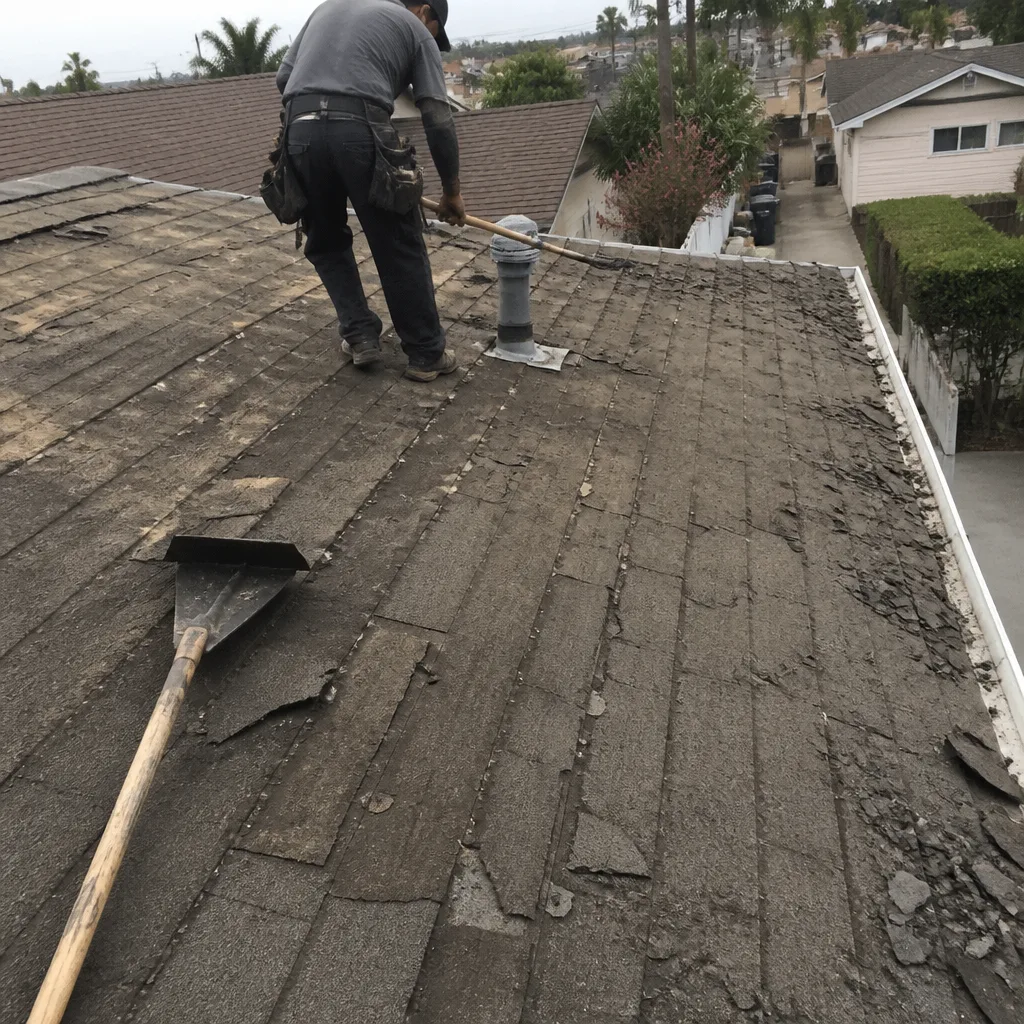 Before
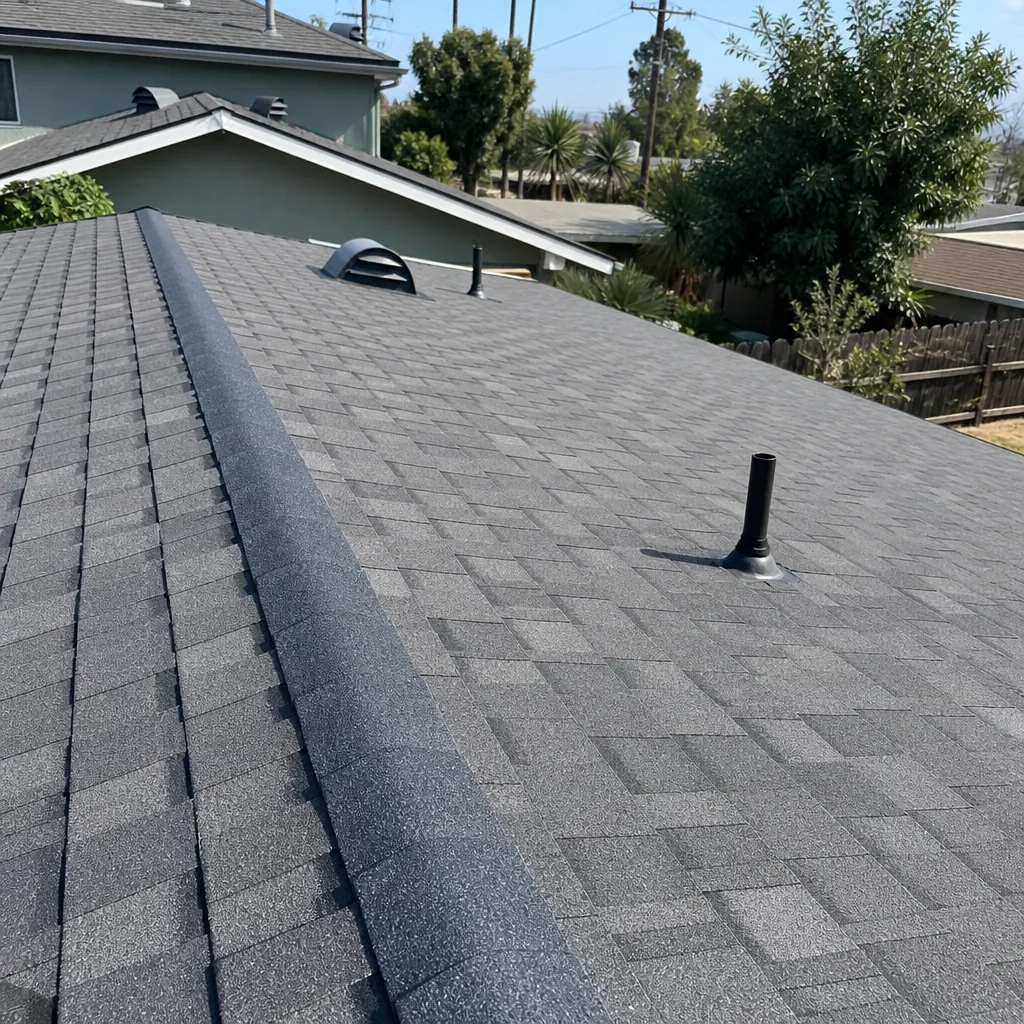 After
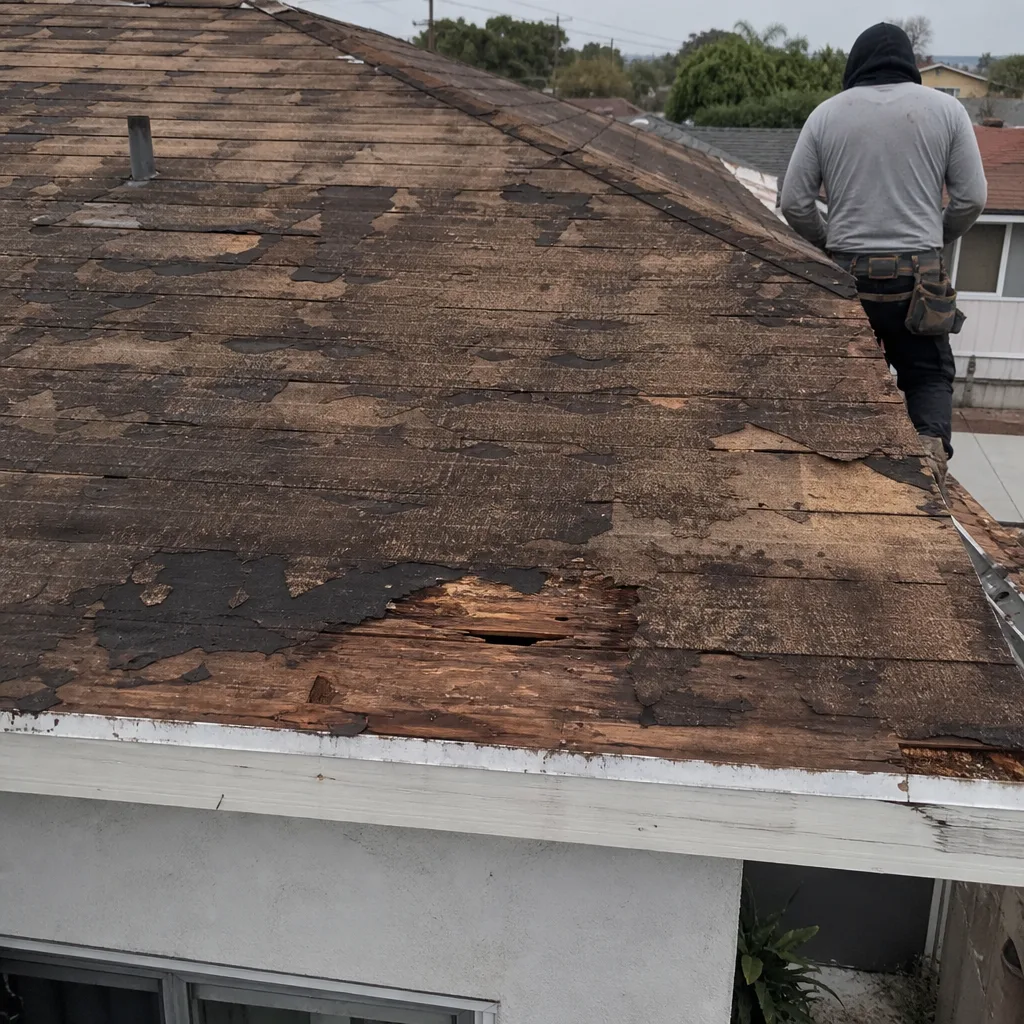 Before
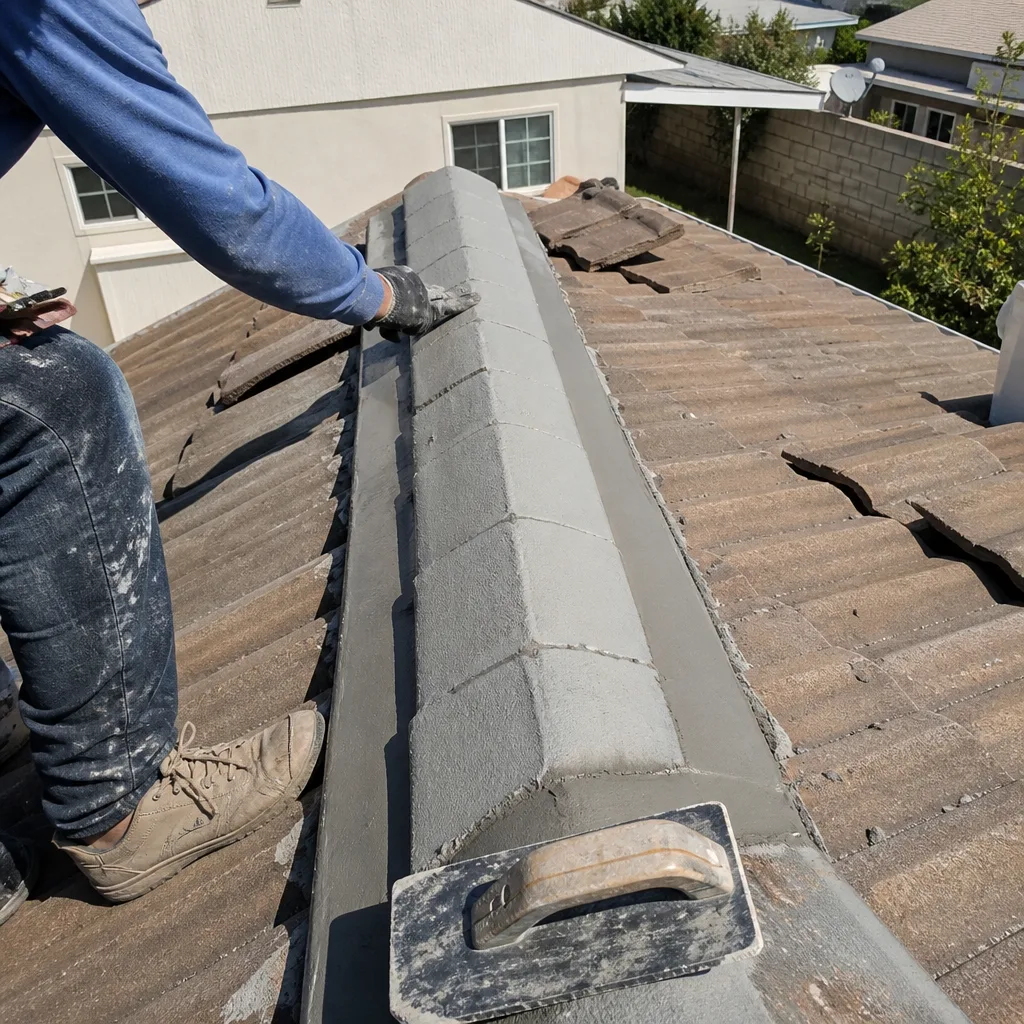 After
When to Call a Professional
Call a professional when the damage is on a steep roof, when the breach is larger than a single shingle, when water is actively entering your living space, or when you can’t safely access the damaged area from the ground or a ladder. Emergency tarping is dangerous work, and so is walking a roof after a wind event to assess what’s broken. If your roof has sustained damage in El Monte and you don’t know the extent, start with an inspection. Vista Roof Repair offers free estimates in El Monte, and our team handles everything from the initial assessment through repair or full replacement. Call (866) 253-8145 and we’ll tell you what your roof actually needs.
Frequently Asked Questions
Emergency roof repair in El Monte typically costs between $300 and $1,500 depending on the extent of the damage, the difficulty of access, and the material matching required. A single shingle replacement runs $150 to $300, while a decking patch with shingle replacement runs $700 to $1,500. Call (866) 253-8145 for an exact quote based on your specific damage; estimates are free.
Photograph everything before moving anything: the exterior damage from wide to narrow, fallen materials where they landed, and any interior symptoms from the ceiling down. Then call a roofing professional to assess the damage and apply temporary protection if needed. Document first, then act.
Structural damage from a roof leak typically begins within days to weeks, not months, especially in El Monte’s older homes with sawn lumber rafters. Wood starts absorbing water within hours of exposure, and compounding rain events accelerate the deterioration. Address a leak within 24 to 48 hours of discovery.
Most homeowners insurance policies cover emergency tarping as part of mitigation costs, but the tarping itself is only temporary. Your policy covers the permanent repair subject to your deductible and coverage limits. Document the tarping with photos and keep receipts; your adjuster will ask for both.
Check for a verifiable local address, look them up on the CSLB website, ask how long they’ve been working in El Monte, and be suspicious of anyone who knocks on your door unsolicited after a storm event. A legitimate local contractor is traceable, licensed, and willing to let you get multiple estimates.
Products from manufacturers like GAF, CertainTeed, Owens Corning, IKO, and Atlas all offer wind-rated lines suited to El Monte’s Santa Ana exposure, but the installation quality matters more than the brand name in most wind-damage cases. A properly installed value-tier shingle from Atlas or Tamko will outperform a premium shingle from any manufacturer that was installed incorrectly.
The Bottom Line
Roofing emergencies in El Monte are predictable in their patterns: Santa Ana winds stress specific weak points, winter rains exploit them, and the homeowner who prepared before the event spends hundreds instead of thousands. The preparation checklist includes a pre-season roofline inspection, documentation habits that support insurance claims, knowledge of correct emergency tarping, and enough material literacy to evaluate contractor recommendations with confidence. None of this requires you to become a roofer. It requires knowing what to look for, what to do in the first hour, and when to call someone who does this every day. Explore our more guides & resources to stay prepared year-round. The roof over your head is a system, and like any system, it responds to early intervention. Prepare now, before the next Santa Ana event, and the next emergency stays manageable.
Written by the team at Vista Roof Repair, serving El Monte since 2017.