
Last updated October 30, 2026
 Architectural shingles
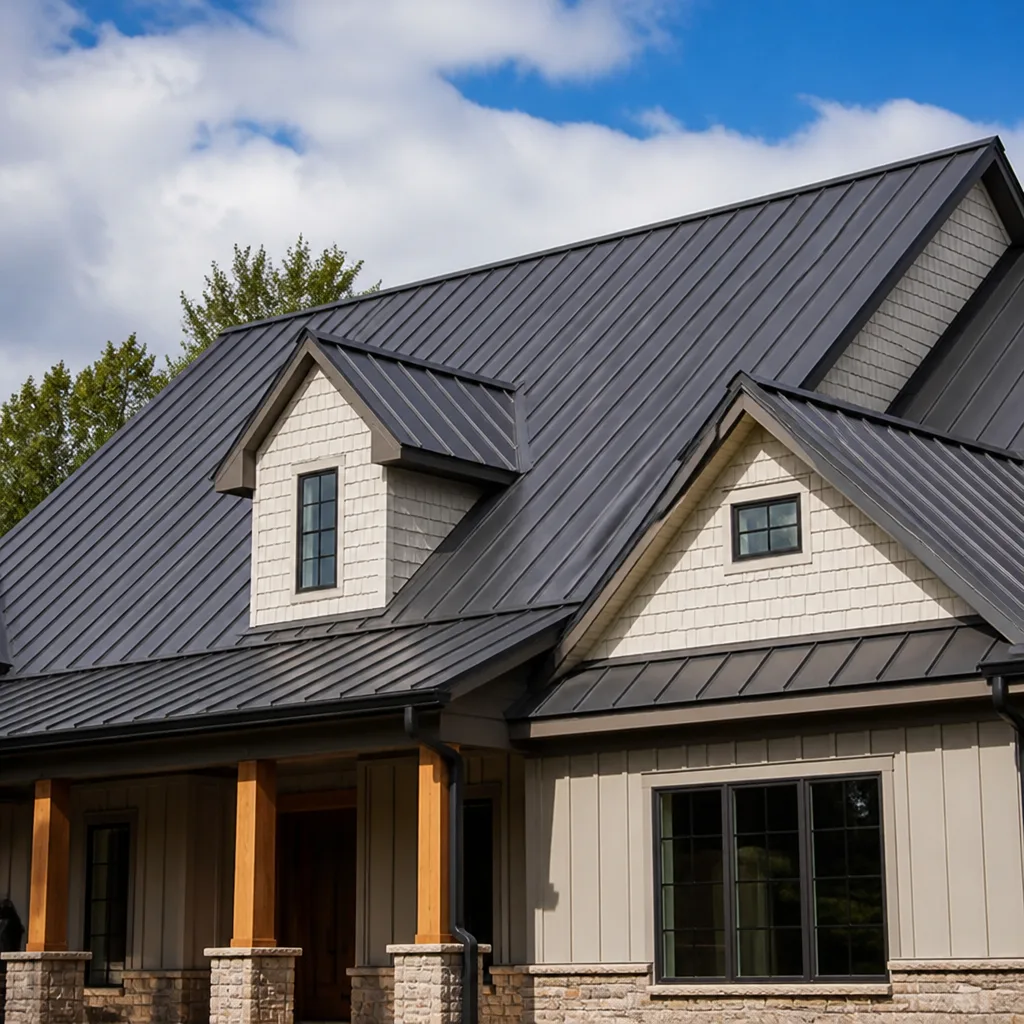 Metal roofing
 Tile roofing
 GAF
 Owens Corning
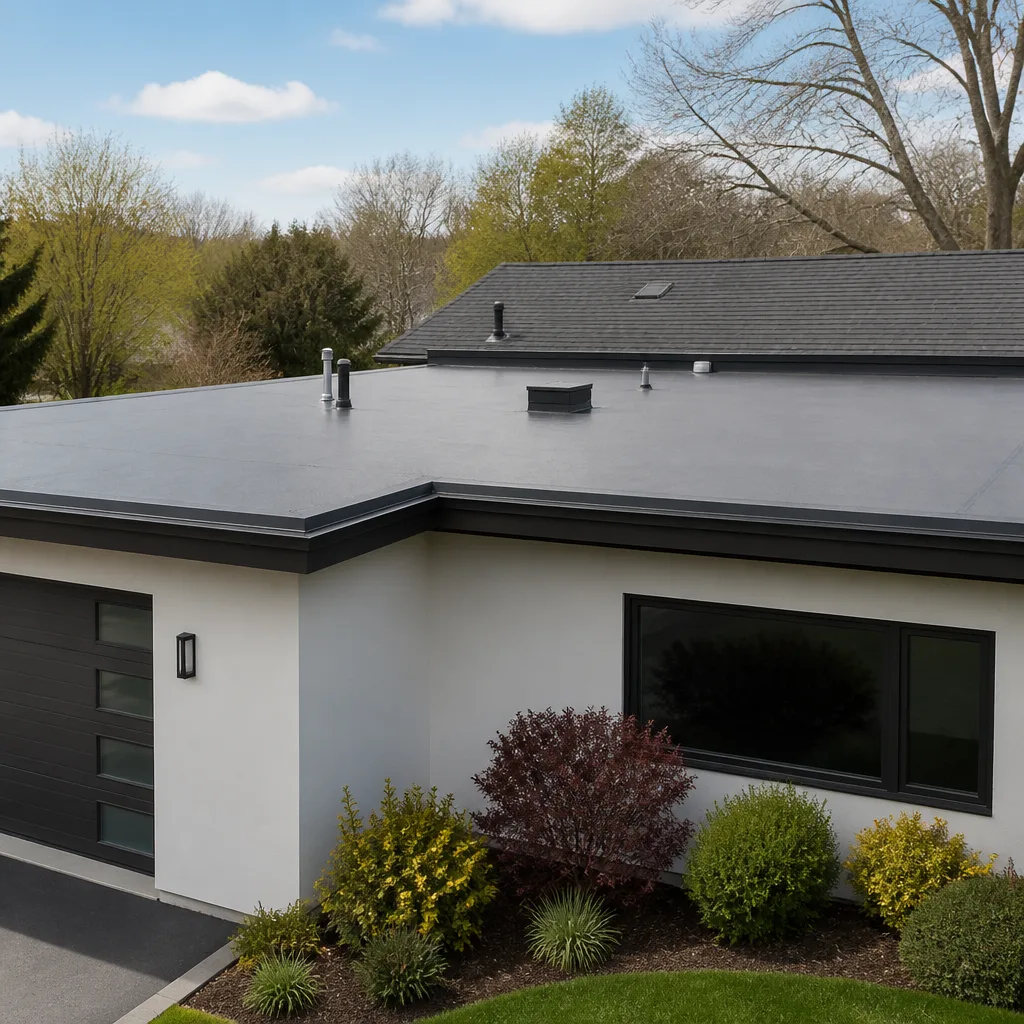 Flat & low-slope
Free roof inspection with deck photos before we talk money - GAF and Owens Corning certified installation
Roof Repair Troubleshooting: Common Problems and How to Fix Them
The water stain on your ceiling is almost certainly not below the leak. Water travels along rafters, sheathing seams, and insulation batting – sometimes six to eight feet horizontally before it drips. Replacing shingles directly above the stain fixes the wrong thing roughly half the time. This guide walks you through the systematic way we trace roof failures at Vista Roof Repair in El Monte, from interior symptom back to true entry point, so you understand what’s actually wrong before anyone climbs a ladder. For professional help, see our Roof Repair services.
Quick Answer
Most roof leaks are caused by failed flashing, pipe boot gaskets, or worn shingle sealant strips – not the shingles themselves. Start by mapping the interior stain, then work upward and outward in the attic to find where water enters the deck. The fix depends on shingle age, damage extent, and whether the failure is isolated or systemic.
Styles & brands we work with
Table of Contents
- Why Water Travels: The Geometry of a Leak
- The Grid-and-Eliminate Method for Tracing Leaks
- The Five Most Misdiagnosed Roof Problems
- Storm Damage vs. Deferred Maintenance: Why It Matters for Insurance
- Safe DIY Inspections (and the Ones That Cause Damage)
- Repair, Monitor, or Replace: A Decision Matrix
- El Monte Roofing Conditions: What Local Homes Face
- What to Expect When We Inspect a Roof
Why Water Travels: The Geometry of a Leak
Before you can troubleshoot a roof problem, you have to accept one uncomfortable fact: water doesn’t fall straight down through a roof assembly. It rides the slope. It follows the path of least resistance along the top chord of a truss, runs sideways at a lap joint in the sheathing, and pools against a roofing nail that’s backed out an eighth of an inch. In our work across El Monte, we’ve traced leaks that originated near a ridge vent and presented as a stain in a hallway ceiling twelve feet away, on the opposite side of a bedroom.
The physics is simple. Once water penetrates the roof surface layer, it hits the underlayment or the top side of the deck and starts moving downhill. But “downhill” might be diagonal if there’s a seam, a nail, or a piece of insulation batting in the way. It might be nearly level if the deck has a low spot from settling. By the time water finds a gap in the deck – a knot hole, a butt joint, a plumbing penetration – it’s often far from where it entered. This is why the first rule of roof repair in El Monte is to map the interior damage before touching anything on the roof surface.
What this means for troubleshooting
- Never patch the first hole you see. The visible hole may be the exit point, not the entry point.
- Look for wet insulation in the attic. Wet insulation holds water like a sponge and releases it slowly, often days after the rain stopped.
- Mark the stain, then wait for the next rain. If the stain moves or grows in a new direction, you have multiple entry points or a single moving source.
- Consider the ceiling material. Plaster and drywall stain differently. Drywall browns quickly at first contact. Plaster can hide water for weeks before showing a stain.
The Grid-and-Eliminate Method for Tracing Leaks
We use a systematic process to trace a leak from interior stain back to roof surface. You can do a simplified version yourself before calling a contractor. It saves time and gives you a clearer picture of what you’re dealing with.
Here’s the step-by-step method we follow when a homeowner in El Monte reports an interior stain:
- Document the stain. Photograph it from directly below and from an angle. Measure its distance from the nearest two walls. Write down the date and the weather conditions when you first noticed it.
- Get into the attic above the stain. Use a bright flashlight. Look for wet insulation, water staining on the underside of the deck, rusted nail ends, and dark trails on the rafters. Water leaving a trail on the underside of the deck is the single most useful clue you’ll find.
- Follow the trail UP. Not across. Not down. Water always moves from a higher point to a lower point. If you’re in the attic looking at a stain on the deck, the entry point is almost always higher on the roof plane than where the stain appears.
- Check the deck seams. Plywood and OSB decking are installed with small gaps between sheets. Water running along the top of the deck can find one of these gaps and drop through, even if the roof surface above is intact.
- Look for daylight pinholes. On a sunny day, with the attic lights off, small holes in the deck or roof surface will show as pinpricks of light. These are active entry points.
- Mark the likely entry zone on the roof surface. Only now do you go outside or call a contractor. The interior work is what makes the exterior diagnosis accurate.
This process takes about 30 to 45 minutes for most single-story homes. It’s not complicated, but it does require a decent flashlight, dust mask, and the willingness to move carefully across attic joists without stepping through the ceiling below.
The Five Most Misdiagnosed Roof Problems
Some roof failures get misdiagnosed more often than others. These five account for a surprising share of unnecessary shingle replacements and repeat repairs. Knowing them will help you ask better questions and avoid paying for the wrong fix.
1. Pipe boot failures mistaken for shingle damage
Every plumbing vent pipe penetrating your roof has a rubber or neoprene boot sealing the junction. These boots crack, shrink, and split from sun exposure and thermal cycling. In the San Gabriel Valley heat, we see boot failures on roofs as young as eight years old. The rubber pulls away from the pipe, or the metal base separates from the boot, and water enters at the penetration point. A homeowner sees water in the bathroom or kitchen ceiling and assumes the shingles are bad. Often, the fix is a $15 to $40 boot replacement, not a re-roof.
2. Ice dam logic applied in warm climates
Ice dams form when snow melts, runs to the eave, and refreezes, backing up water under the shingles. That’s a real problem in Chicago or Denver. In El Monte, we don’t get snow. But we do get debris dams. Pine needles, sycamore leaves, and asphalt granules collect in valleys and behind chimneys, creating the same water-backup effect. A homeowner who Googles “water backing up under shingles” might read about ice dams and install heat cable, which does nothing for a leaf dam. The real fix is valley cleaning and sometimes replacing the valley metal if it’s corroded.
3. Attic condensation blamed on the roof surface
This one trips up even experienced homeowners. Cold, damp nights followed by warm days create condensation on the underside of the roof deck, especially in homes with inadequate attic ventilation. The water drips onto insulation and stains the ceiling. It looks exactly like a roof leak. But the shingles, underlayment, and flashing above are completely intact. The fix is adding or improving attic ventilation – ridge vents, soffit vents, gable vents, or powered vents depending on the home. Before you spend money on roof repair, check the attic ventilation math. A balanced system moves about one square foot of vent area for every 150 square feet of attic floor space.
4. Failed sealant strips on shingles read as “old shingles”
Architectural shingles have a heat-activated sealant strip that bonds each course to the one below. Over time, or after a particularly windy season, those bonds can fail. Shingles lift, flap, and eventually tear off. But the shingle itself may have 10 or 15 years of life left. If the sealant failed uniformly across a large area, you might not need a new roof – you need the shingles re-sealed. It’s a repair, not a replacement, and a roofer who knows how to spot the difference will save you thousands. We regularly find this condition on roofs in El Monte neighborhoods with mature trees that drop debris and block gutters, because the standing water at the eave accelerates sealant breakdown.
5. Skylight flashing failures blamed on the skylight itself
Skylights rarely leak through the glass unit. Almost always, water enters at the flashing kit – the metal pieces that tie the skylight into the surrounding shingles. The flashing can pull loose, the sealant can dry out, or the counterflashing can be installed wrong in the first place. Homeowners who see water below a skylight often replace the entire skylight, only to find the leak persists. The fix is usually a new flashing kit or a re-seal of the existing one, which costs a fraction of a full skylight replacement.
Each of these misdiagnoses shares a common thread: the visible symptom points to one thing, and the actual failure is something else. That’s why an honest roof inspection in El Monte starts with questions, not a ladder. We want to know when the leak appears, what the weather was doing, and what’s directly above the stain in the attic. Those answers narrow the possibilities fast.
Storm Damage vs. Deferred Maintenance: Why It Matters for Insurance
If you’re considering an insurance claim for roof damage, the distinction between storm damage and deferred maintenance is the difference between a covered claim and a denial letter. Insurance companies pay for sudden and accidental events: wind that lifts shingles, hail that bruises the matting, a tree branch that punctures the deck. They don’t pay for slow deterioration: curling shingles at the end of their life, flashing that rusted through over 20 years, sealant that failed gradually.
Here’s what we look for when assessing storm damage in El Monte:
Signs of storm damage (covered by most policies)
- Uniform damage across a face or plane. Hail hits everything. Wind hits a broad path. If only one corner of the roof shows damage, it’s probably not storm-related.
- Recent damage with no weathering. Fresh tears in shingles, bright exposed fiberglass, or granules still washing into gutters after a storm are active event indicators.
- Directional damage. Wind damage moves in lines. Lift on the leading edge of a shingle and check for creases that run perpendicular to the wind direction.
- Multiple properties affected. If your neighbors on the same block have storm signs, the event is established.
Signs of deferred maintenance (usually denied)
- Differentiated aging across the roof. South-facing slopes wear faster than north-facing. The damage should match the exposure pattern.
- Granule loss in gutter lines year after year. This is progressive wear, not an event.
- Curling, cupping, or clawing shingles. These are heat-age indicators. In El Monte’s summer heat, we see them on roofs 15 to 20 years old regardless of storm exposure.
- Flashing with rust holes. Rust takes years. Insurance doesn’t cover it.
The right framing matters. If storm damage is present on an otherwise older roof, the claim may be partially covered. If the roof was already failing before the storm, the insurer will likely deny the claim. A detailed inspection with dated photos is your best documentation either way.
Safe DIY Inspections (and the Ones That Cause Damage)
Not all roof inspections are created equal. Some are genuinely useful for a homeowner. Some create new problems while you’re looking for old ones. Here’s the honest breakdown.
Safe and useful: the attic walk-through
We already covered the grid-and-eliminate method above. Going into the attic is safe if you follow basic precautions: step only on joists, wear a dust mask, watch your head on nail points, and bring a bright light. No roof surface contact required. This is the single highest-value inspection a homeowner can do.
Safe and useful: gutter debris analysis
Clean out the gutters or look at what’s accumulated. Asphalt granules in the gutter suggest shingle wear. Granules from a GAF or CertainTeed architectural shingle should appear gradually over years, not in piles. If you see large amounts after a single season, the shingle surface is deteriorating faster than normal. Bits of rubber or cracked plastic suggest a pipe boot is failing. Metal flakes suggest corrosion on flashing or valley metal.
Safe and useful: ground-level visual inspection
Walk the perimeter of the home with binoculars or a phone camera on zoom. Look at ridge lines for straightness. Look at shingle tabs for lifting, especially at edges and valleys. Look at pipe boots. Look at chimney counterflashing. You can see a lot from the ground without ever putting weight on the roof.
Risky: walking on the roof surface
With one big exception, avoid walking on the roof. Aged 3-tab shingles are brittle. Walking on them in summer heat in El Monte cracks the tabs and knocks granules loose. You can cause genuinely new damage while investigating old damage. The exception: flat or very low-slope roofs designed for foot traffic, and even then, soft-soled shoes and careful steps only. On steep slopes or older shingles, leave the walking to a roofer with the right ladder, safety gear, and experience reading shingle flex underfoot.
Risky: pressure washing the roof
Never pressure wash a shingle roof. It strips granules, forces water under the shingle courses, and voids most manufacturer warranties. If someone recommends it as roof maintenance, ignore that advice entirely.
Risky: silicone and caulk as a fix
Caulk has a place in roof repair, but it’s narrow: small gaps in flashing, minor sealant failures, or cracks in vent pipe collars. It’s not a fix for missing shingles, deck holes, valley failures, or any structural issue. We see caulk slathered across problem areas during inspections. It usually makes the real repair harder because the roofer has to remove the failed caulk first.
Repair, Monitor, or Replace: A Decision Matrix
Every roof falls into one of three buckets: repair now, monitor and reassess, or replace. Here’s the decision matrix we use with El Monte homeowners to determine which bucket applies.
Repair now
Choose repair when the failure is isolated and the surrounding roof system is sound:
- Shingle age under 10 years. The shingles have life left. Fixing a boot, a valley, or a few lifted shingles extends the service life without wasting money.
- Damage covers less than 10% of a single slope. A few torn shingles after a windstorm. A branch puncture. A failed boot. Repairable without questioning the rest of the roof.
- The deck is dry and solid around the problem. No rot extending beyond the immediate leak area.
- No signs of widespread granule loss. The shingle surface is still intact and protecting the matting.
Monitor and reassess
Choose monitoring when the roof shows wear but isn’t failing yet:
- Shingle age 12 to 18 years. You’re in the back half of the roof’s life, but it’s not done. Watch for changes year over year.
- Minor curling at edges without cracking. The shingles are aging but still shedding water.
- Intermittent staining in the attic with no active drip. You might have an old leak that was repaired before you bought the house. Monitor through the next rainy season.
- Granule loss that’s visible but not aggressive. You can see some in the gutters, but the shingle color is still uniform.
Replace
Choose roof replacement in El Monte when the system is at the end of its life or the damage is structural:
- Shingle age 20 years or more. Most asphalt shingle roofs in the San Gabriel Valley last 18 to 25 years depending on brand, ventilation, and exposure. At 20 years, even a good-looking roof is living on borrowed time.
- Damage covering more than 30% of the roof area. When a storm or a fallen limb damages a third or more of the surface, the roof’s integrity is compromised across the whole assembly. Repairing 30% of shingles costs enough that replacement becomes a better value.
- Deck rot visible from the attic. If you can see dark, soft, or delaminated decking from inside the attic, the structural layer has been compromised. This doesn’t get better with a patch.
- Multiple leaks in different locations. Several leaks appearing over a short period suggests widespread sealant and flashing failure. The whole system is failing, not one component.
- Shingles that crack when bent during installation. If a roofer can’t nail a shingle without it splitting, the material is spent.
These thresholds aren’t hard rules. Some roofs need replacement at 15 years due to poor ventilation or bad installation. Some make it to 30. The key is honest assessment. We tell homeowners what their roof actually needs, not what we’d prefer to sell them. Sometimes that’s a $200 repair. Sometimes it’s a full tear-off. The decision matrix above is how we arrive at that answer.
El Monte Roofing Conditions: What Local Homes Face
El Monte has a particular set of conditions that shape the way roofs fail here. The summer heat is a major factor. Temperatures in the San Gabriel Valley regularly exceed 95 degrees from June through September, and roof surfaces can reach 140 degrees or more. That heat bakes shingles, accelerating granule loss and sealant degradation. A roof that would last 25 years in a coastal climate might make it 20 here, sometimes less if attic ventilation is poor.
The winter rains are the other half of the equation. El Monte gets most of its 15 to 16 inches of annual rainfall between December and March. For four months of the year, roofs are exposed to repeated wetting and drying cycles. The expansion and contraction of the deck as it absorbs moisture and then dries out works nails loose and opens small gaps around penetrations. We see a spike in leak calls every January and February, usually after the second or third consecutive storm system.
Wind is a factor too. The Santa Ana season brings strong, dry gusts that lift shingles and redistribute anything loose on the roof surface. Combined with the mature trees in many El Monte neighborhoods – oaks, sycamores, and ficus that drop leaves and branches onto roofs – the debris load in valleys and gutters is higher than average. Homes near the San Gabriel River channel experience more wind exposure than homes in the more sheltered central neighborhoods, and we factor that into our assessment when we recommend materials and repair scope.
The older housing stock matters as well. Much of El Monte’s residential development happened in the 1950s through the 1970s, meaning many homes are on their second or third roof. The original decking may be 1×6 boards rather than plywood or OSB. That’s not necessarily a problem, but it does change how repairs are made and how the roof behaves. We’ve inspected homes where the deck was installed with gaps that modern code wouldn’t allow, and those gaps are now active leak points. Understanding the specific construction era of a home in El Monte informs every repair decision we make.
Material choice also matters more in this climate than homeowners realize. Some shingle lines hold up better to sustained heat. In our experience, the higher-end lines from GAF and CertainTeed, along with select Tamko products, handle thermal cycling better than budget lines from the same manufacturers. We’re not tied to any single brand – we work with all the majors including Boral – so the material recommendation can follow what the roof actually needs, not what inventory we’re trying to move.
What to Expect When We Inspect a Roof
If you’ve never had a professional roof inspection, the process is straightforward. Here’s how it works when we inspect a roof in El Monte:
- Interior review. We start inside. We want to see any existing stains, ask about leak history, and understand what the homeowner has observed.
- Attic inspection. We go into the attic and inspect the deck from below. This is where the real diagnosis happens. We look for water trails, deck deterioration, ventilation issues, and evidence of animal entry.
- Exterior inspection. We walk the roof surface (or inspect from the ground with optics on very steep or fragile roofs). We check shingles, flashing, boots, valleys, ridges, and any penetrations.
- Documentation. We photograph everything relevant, from the broad roof overview to close-ups of problem areas. These photos are yours to keep, useful for insurance claims or future comparison.
- Assessment and options. We tell you what we found, what needs attention, and what your options are. Repair if repair works. Replacement if replacement is the right call. No pressure either way.
The whole process takes about 45 minutes to an hour for most homes. At the end, you’ll have a clear picture of your roof’s condition and a prioritized list of issues, not a sales pitch.
Common Mistakes to Avoid
- Patching directly above the stain without checking the attic. The leak entry point is rarely above the stain. You’ll spend money on shingles and still have a wet ceiling next rain.
- Using silicone caulk on structural problems. Caulk is for small gaps, not missing shingles or rotted decking. It makes the eventual repair harder.
- Assuming every leak means a new roof. Many leaks are isolated failures – a boot, a piece of flashing, a dozen lifted shingles. Repair often makes more sense.
- Assuming every leak does NOT mean a new roof. The opposite error. If shingles are 22 years old and leaking in three places, patching each one is throwing money away.
- Ignoring attic ventilation. Poor ventilation shortens shingle life and causes condensation leaks. It’s part of the roof system, not a separate issue.
- Waiting to fix a small problem until it becomes a big one. A failed boot that leaks for a year before anyone notices will rot the deck around it. The repair cost triples.
- Filing an insurance claim for deferred maintenance. If the roof was already failing, the claim gets denied and your claim history gets a black mark. Know the difference before you call the adjuster.
See the difference
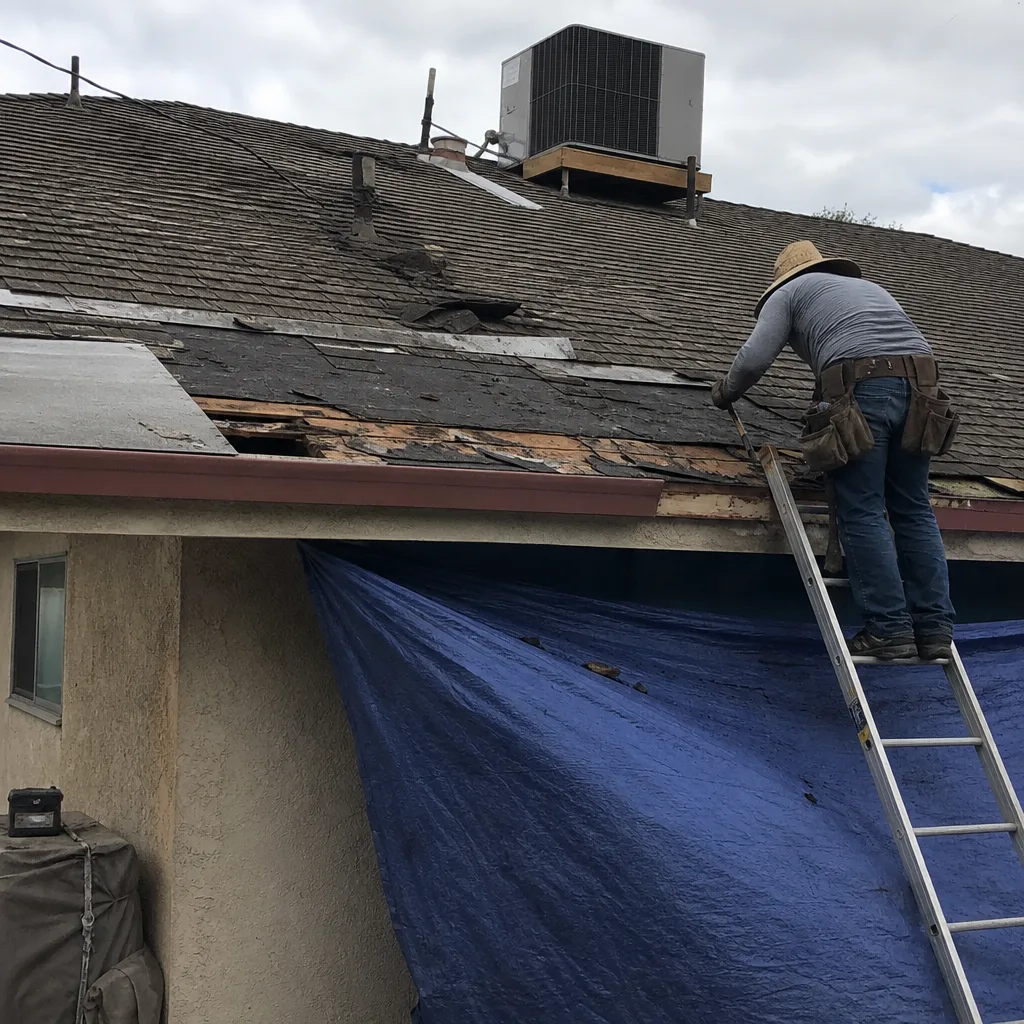 Before
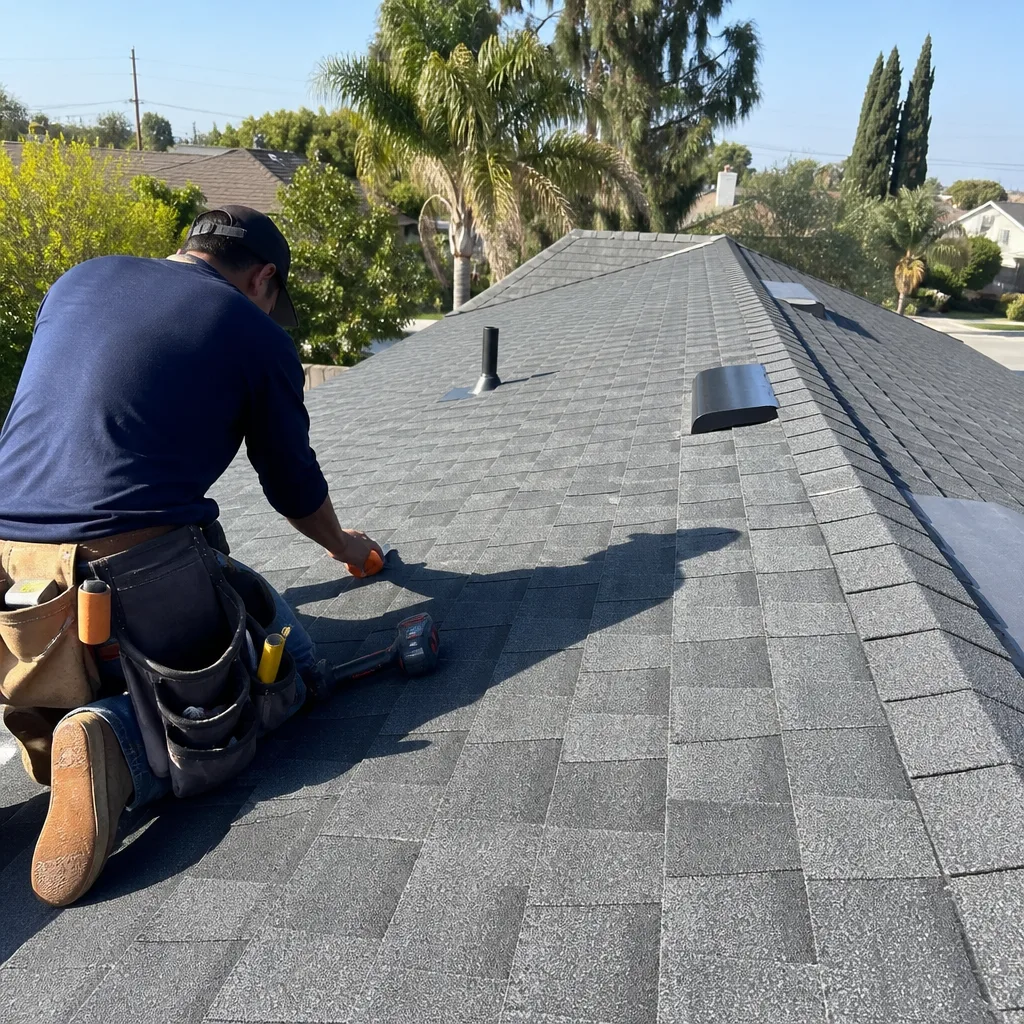 After
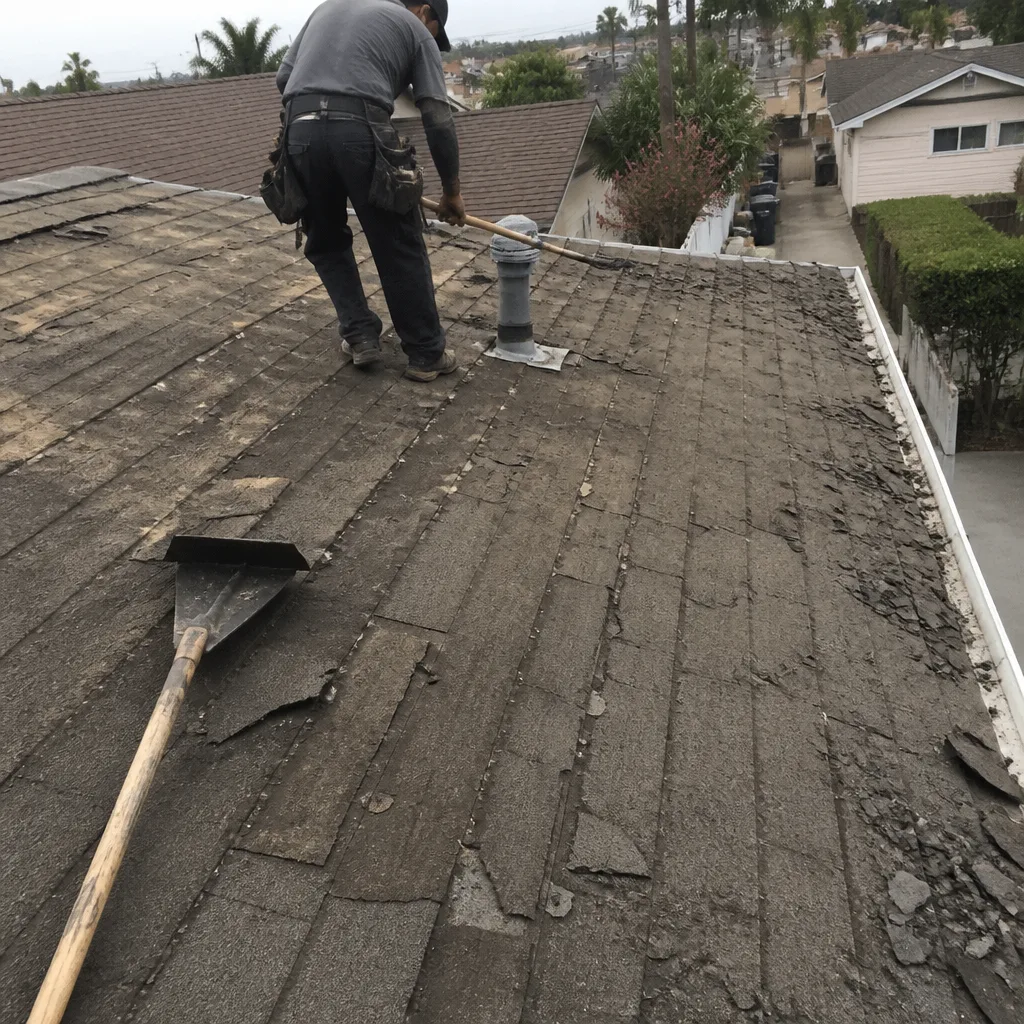 Before
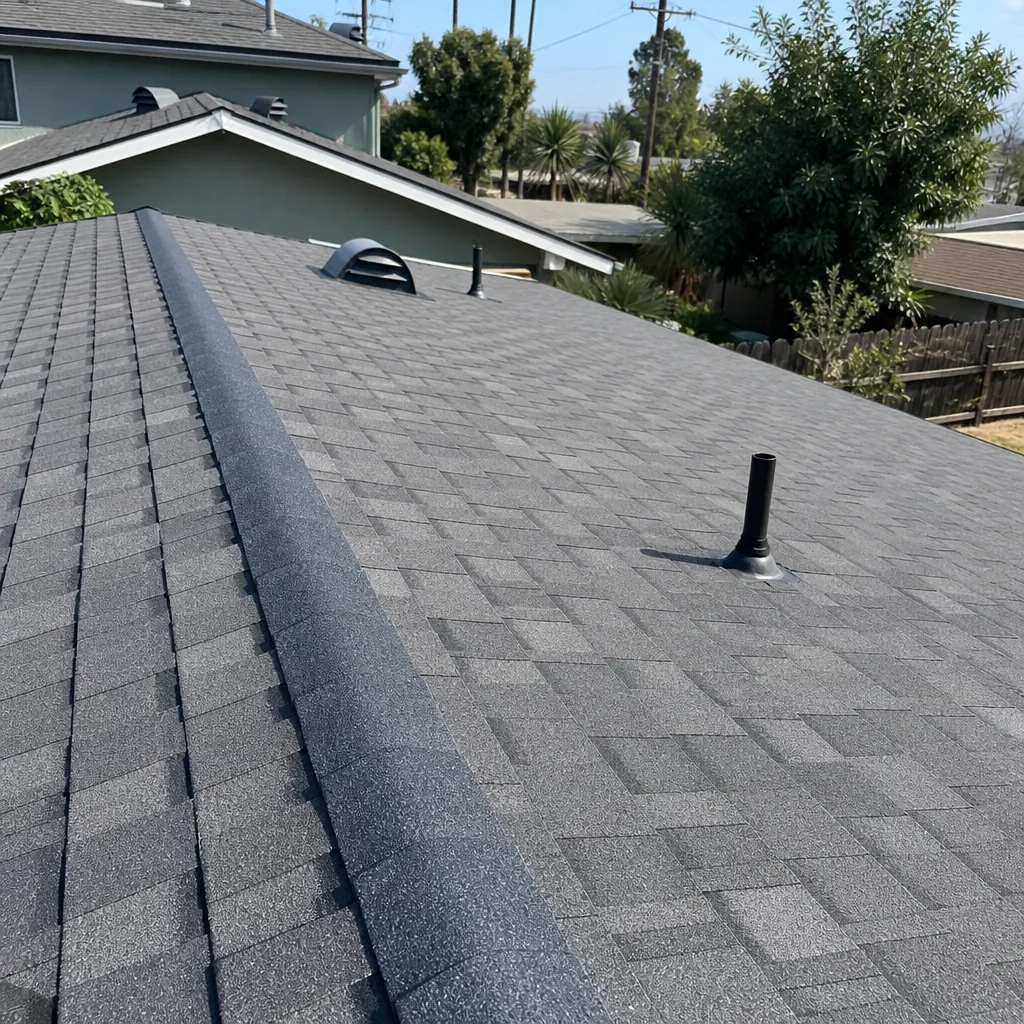 After
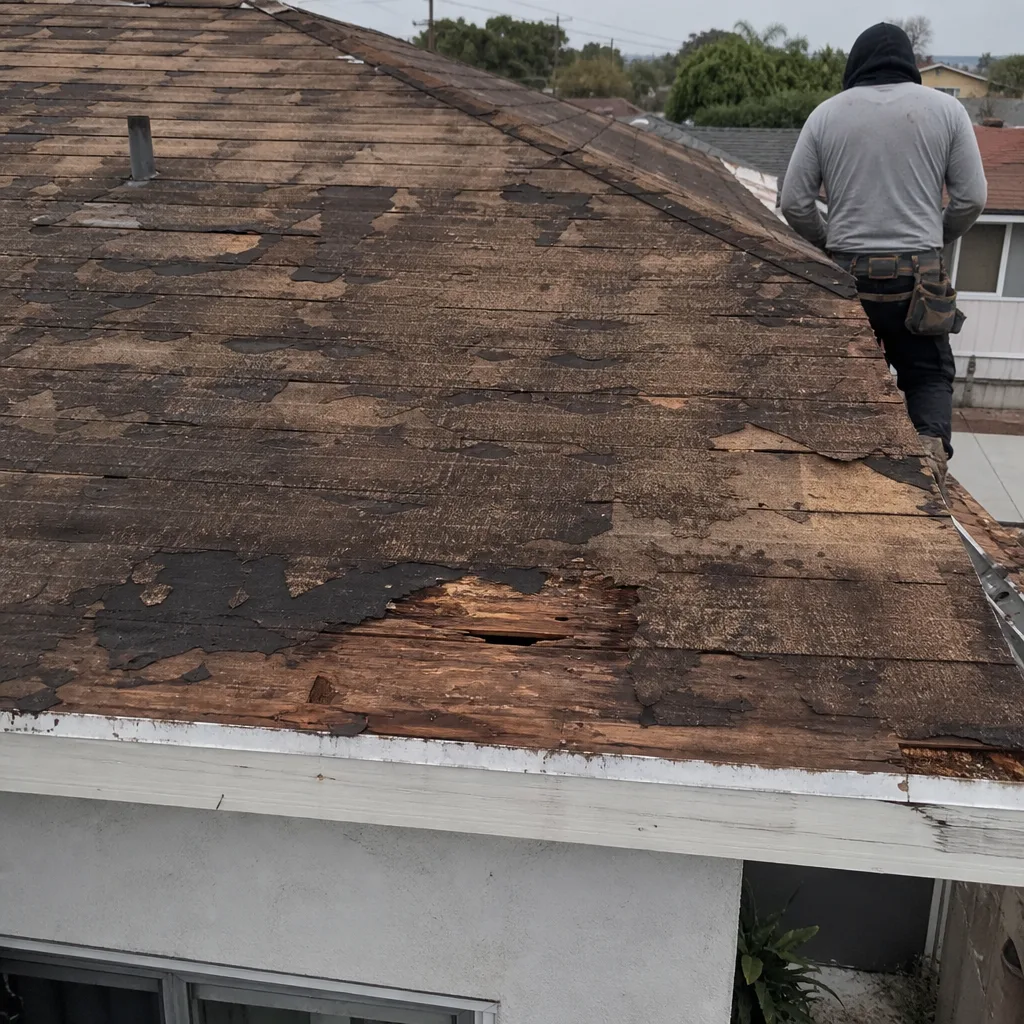 Before
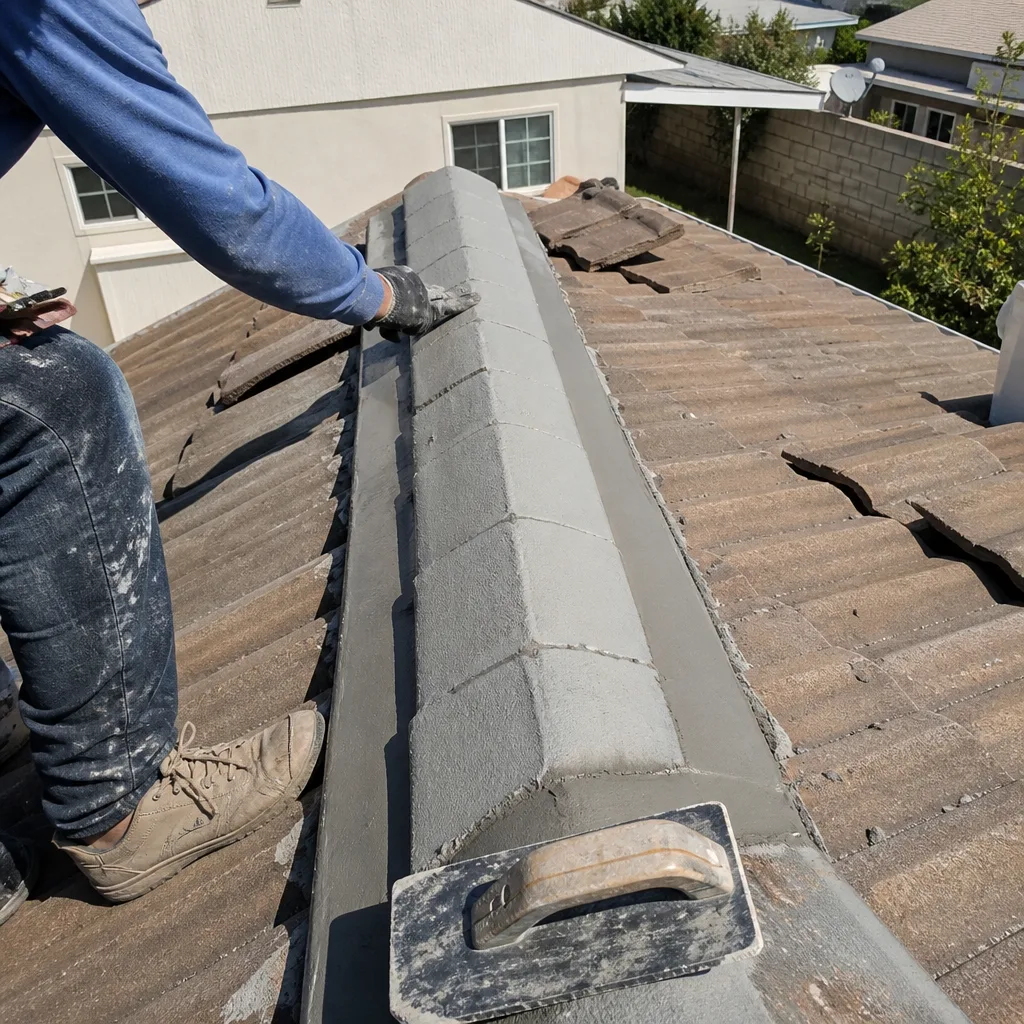 After
When to Call a Professional
Some roof problems call for professional help. If you see water actively dripping into the attic during rain. If a section of shingles is visibly lifted or missing after a windstorm. If the deck shows dark staining, soft spots, or signs of rot from inside the attic. If you find multiple leaks in different rooms. If the roof is over 15 years old and this is the first real problem. In any of these cases, the diagnosis matters as much as the fix, and a professional inspection beats guessing. Vista Roof Repair offers free estimates in El Monte – call (866) 253-8145 and we’ll tell you what your roof actually needs, from inspection to installation.
Frequently Asked Questions
Go into the attic above the stain and follow the water trail upward on the deck. The entry point is almost always higher on the roof plane than the interior stain. Look for wet insulation, dark deck staining, rusted nail ends, and daylight pinholes. Mark the likely entry zone before calling a roofer.
Minor repairs like a pipe boot replacement or small flashing fix generally run $150 to $450 in El Monte. More involved repairs such as valley replacement, multiple shingle replacement, or deck patching can run $500 to $1,500. The cost depends on what’s actually wrong, which is why we recommend an inspection before pricing. Call (866) 253-8145 for an exact quote – estimates are free.
Some repairs are DIY-safe, like replacing a few lifted shingles or sealing a small flashing gap on a low-slope roof. But walking on an aged roof risks causing new damage, and working on a steep roof without safety gear is dangerous. If the roof is steep, shingles are old, or the repair is beyond simple surface work, hire a professional.
Insurance covers sudden and accidental damage like wind, hail, or falling trees. It does not cover gradual wear, age, or deferred maintenance. The age of your roof, the type of damage, and your policy terms all factor into the decision. Document everything with photos and dates before filing a claim.
Most isolated repairs – a pipe boot, a few shingles, a small flashing fix – take one to three hours once the materials are on site. Larger repairs like valley replacement or deck section repair may take a full day. The inspection and diagnosis typically takes under an hour.
Repair if the shingles are under 15 years old, the damage is isolated to less than 10% of a slope, and the deck below is solid. Replace if the shingles are 20 plus years old, damage covers more than 30% of the surface, the deck is rotted, or leaks are appearing in multiple locations. A professional inspection will give you a clear recommendation. Call (866) 253-8145 to schedule yours.
The Bottom Line
Roof troubleshooting starts with understanding that water travels, symptoms mislead, and the true fix depends on accurate diagnosis. Trace the leak from the interior stain backward through the attic to the entry point. Know the difference between storm damage and deferred maintenance before calling your insurer. Do the safe inspections – the attic walk-through and gutter check are both worthwhile – and skip the ones that damage your roof. Then use the repair, monitor, or replace matrix to make a clear-eyed decision. If you’re unsure what your roof needs, start with an inspection. We’ll tell you what your roof actually needs, from inspection to installation. Call (866) 253-8145 for a free estimate in El Monte.
Written by the team at Vista Roof Repair, serving El Monte since 2017.